How to Harvest & Preserve Your Cannabis
Welcome to How to Harvest & Preserve Your Cannabis with Emily Gogol, PhD, Head Gardener at Grow It From Home. Emily has years of experience growing all sorts of plants in urban gardens and is an expert on growing hemp and cannabis at home. Harvesting Cannabis is just like harvesting other fruits, herbs and vegetables in your garden. Let’s walk through the steps together!
Is there a right way to harvest?
Not really! If you’ve ever picked a ripe tomato in the garden, or at the grocery store, you already have the skills needed to pick a ripe Cannabis flower. Does the color look good? When you slice a tomato open, is the aroma intoxicating? A tomato doesn’t have to be perfectly ripe to be amazing, and the flowers on your Cannabis plants are the same. It is as easy to know when to harvest Cannabis as it is for choosing a ripe tomato.
As an aside, the internet has lots of complicated and involved methods for figuring out whether your cannabis is ready to harvest. I’ve worked with commercial growers across the country and backyard gardeners, and in my opinion, you really only need to pay attention to a few cues from your Cannabis plants. If you want to read some in-depth guides that are spot-on with practical advice, check out Growing Weed in the Garden by Johanna Silver and The Cannabis Gardener by Penny Barthel.
Cannabis Cues
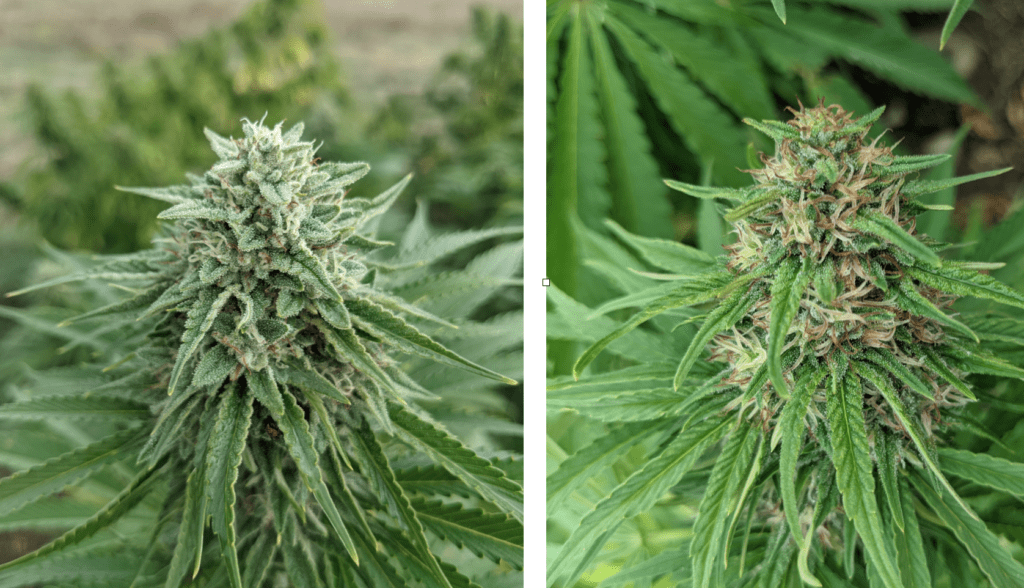
As you watch your plants grow, you’ll notice the flowering stalks, called colas, will start to change. Their size will grow, they might develop intense colors, and as they become more ‘ripe’ they will be firm when you give them a squeeze and give off an incredibly aromatic scent. If you’re growing Victory, it will smell heavenly sweet and floral. Just like other fruits and flowers in the garden or grocery store, size, color, aroma and firmness are key cues for ripeness.
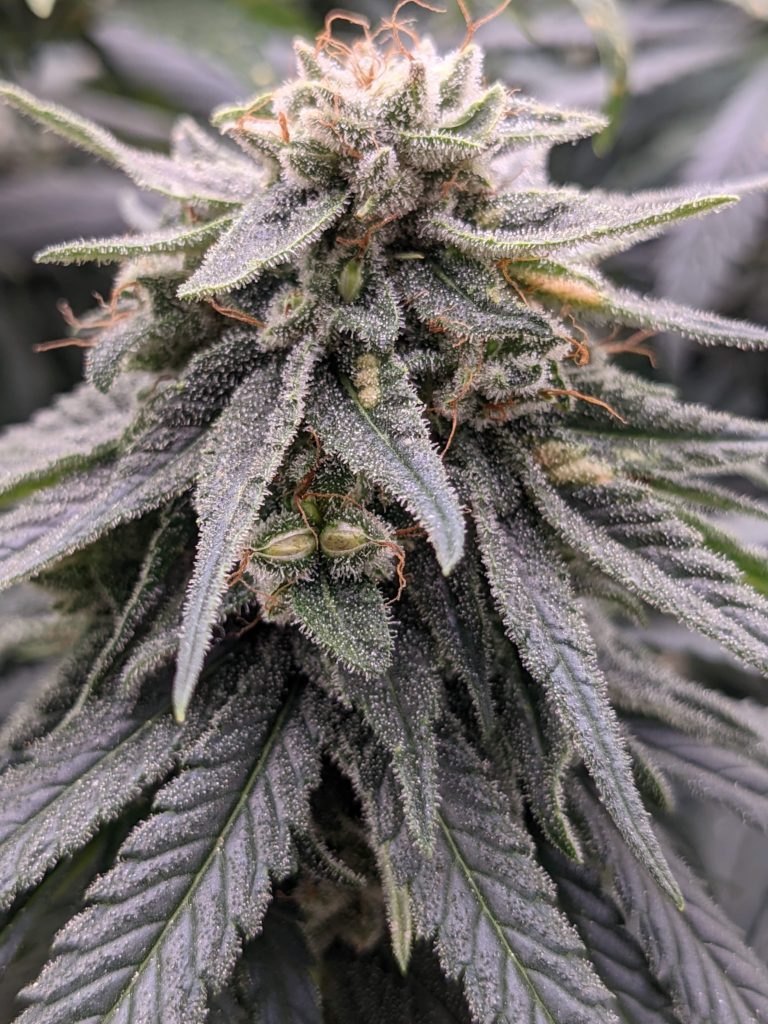
Cannabis plants do have three unique cues. One, is their stickiness, another is their looks; the colas will look frosty and the little hairs called stigmas will change from a light color to an amber/dried up looking brown. These cues are a result of the flowers maturing, producing resin that contains many phytochemicals, including cannabinoids. Each week you should notice your colas become more frosty or sparkly in the sunlight, and more sticky to the touch. When about 50% of the stigmas are white and 50% are that dark amber, your plants are ready. As long as the weather is nice, colas will keep maturing and keep well on the plants, so don’t rush to harvest.
When to Harvest
Remember – just like tomatoes – don’t worry about perfection. The first weeks of October are good times to harvest most cannabis, but if a big storm is coming and it’s the last week of September, go for it! It is better to harvest while the flowers are sticky and beautiful, and mold free.
Your crop can withstand some weather, so don’t worry. One or two days of rain followed by sunshine is okay, just wait it out and check your plants. A few nights of cold temperatures is also okay, and can turn your plants purple! The latest we recommend harvesting is October 15th for most areas. In summary, start checking your colas the 3rd week of September, see how they become fatter, denser, more aromatic and sticky. When the weather is right, and sometime before October 15th, harvest!
How to Harvest
All you need is a clean pair of pruners, a container to put the colas in, and you are good to go. Cut the colas into manageable bundles. The afternoon tends to be the best time of the day, as it gives the morning dew time to evaporate so you have drier colas to work with. At this step you can choose to remove the bigger leaves, called fan leaves. The more leafy material you remove now, the less you have to dry and deal with later. Is there a wrong way? No. You can deleaf now or later, it is up to you. At this stage feel free to make some butter or other infusions with your harvest, it doesn’t have to be dry to infuse; think fresh rosemary or lavender vs. dried.
How to Dry Your Harvest
Location
Bathroom, garage, guest room, side yard in the shade? These are all options. As long as the space is out of direct sunlight, and the temperature is around 60 – 70 F with 50 – 60% humidity, you will do well. A small oscillating fan can also help with airflow. If you can dry persimmons or other fruit there, your Cannabis will do great!
Hang or Shelf Dry
Please feel free to use any contraption for hanging your flower colas. Coat hangers, garden fence, trellis, netting, even tomato cages. Whatever allows for some airflow and to hang them freely is great. Removing the flower buds from the colas is also an option. You can strip them off the stalk by hand, and toss all the ‘nugs’ onto a rack, shelf, or an herb hanging basket. The disadvantage is just aesthetic as the flower will have a flat side. However, the advantage is that it will dry faster off the stem and is a great way to conserve space.

When Drying Becomes Preserving
As your hemp dries, give it a check every 2 – 3 days. Squeeze, smell, get to know how it is changing. If you are in a really warm area, it can take as little as 5 – 7 days to dry fully. Under ideal conditions (60 – 70F with 50 – 60% humidity), it might take up to 10 – 14 days. That is okay! As long as it dries and is mold-free, it will be great. When in doubt like all fruits and vegetables, throw out any moldy parts. When it squishes and feels dry with little bounce back on the squish, you are ready to package it up. Your flower will store indefinitely when stored properly (think high-quality tea) and can be used in many applications.
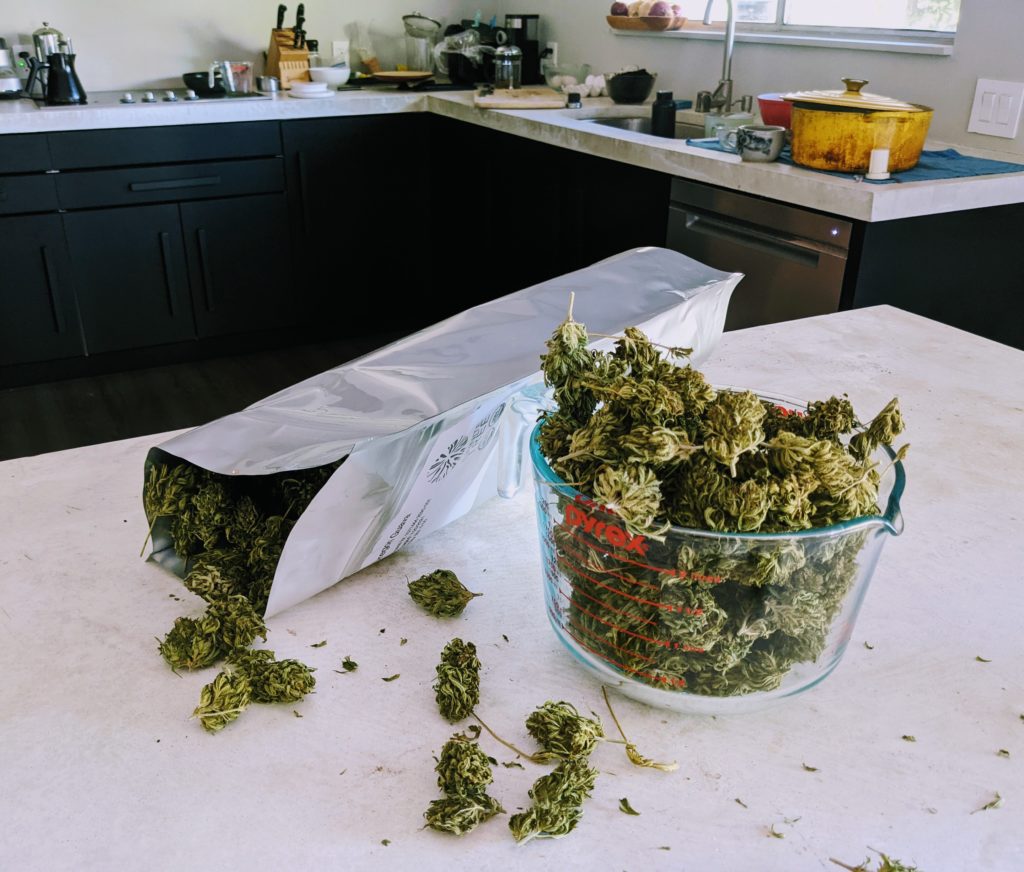
First, simply take the flower nugs off the stem, and remove as much leaf material as you can with a quick trim. Second, plop the flower nugs into a food safe container. I love food safe pouches for storing flower in my pantry and they make a great gift. Just like for other herbs or teas, tins, glass mason jars, and food safe containers are the way to go.
Low Down On Burping
I know many on the internet disagree with me, and there is an extensive dialogue online about curing and burping your harvest. Yes, as any plant material ages there will be changes in the aromas and flavors. No, you do not need fancy equipment or a 2-hour lecture to store your flower properly after harvest. Checking your flower is much more important than ‘burping’ it.
For the first few days after packaging, give them a shake, smell and check. Does it smell fresh and clean? Does the flower still feel dry to the touch? It is totally okay if some water has travelled from inside the flower nug to the outside (it can make your flower damp and squishy). If it feels damp, you can spread the nugs out onto a tea towel on your kitchen counter and let them air dry for 1 – 2 days, and then plop them back in. If anything smells moldy or dank, take out the flower and remove anything that looks suspect and follow the 1 – 2 kitchen air dry. Products that regulate humidity in your container are nice (e.g. those desiccant packets you get with certain foods) but are not necessary to preserve high-quality flower at home.
Use and Enjoy
Congratulations, you now have a delicious supply of flower on hand for all of your projects! I hope this gives you the freedom to experiment with new recipes and preparations, and share with friends and family, of course.
There’s no better companion to a home grow than Ardent technology: both the Ardent Nova and the Ardent FX get you precision (97 – 100%) activation of your plant materials to make infused products in any space from start to finish. Home appliances simply cannot compare. You can also take advantage of all the plant’s parts, activating the usable material on stems, sugar leaf, trim, and more. Ardent technology pays for itself in just a few uses, and now, you can get your device right away! Checkout using Sezzle to get your Ardent decarboxylators, kits, and accessories ordered now, and pay in 4 interest-free payments made over the next 6 weeks.